


Why would you want to create your own teacher’s edition digital interactive notebook? Let’s find out!
As an Educator, we do not have the luxury of teaching only one class period a day. Some of us teach 5-6 classes, and they sometimes are all completely different. If you are a teacher who has implemented the concept of the ‘paperless classroom’, you may feel a little stressed out by the additional, technological prep work involved in the 4-5 minute break you get in between class periods.
Maybe you thought going paperless would eliminate a lot of the work and would be a breeze teaching the same lesson from class to class, only to find out it’s actually a lot more hassle than expected. Fear not! I have a solution for you!
For those of you who are using Google Slides for guided notes, and are completely frustrated with the fact that you’re wasting precious classroom time deleting your notes only to re-type them from class period to class period, I am here to rescue you. I have broken it down, step by step, to give you one less stress in your day!
7 Steps to Create a Teacher’s Edition Digital Notebook
1. Choose your digital notebook.
Whichever book/topic/theme you may be working on that day, you will want to simply locate that original file on your computer. You will be looking for it in the Google Slides format.
2. Make a copy.
Once you have located your original file, you will want to MAKE A COPY of that file so you will have TWO identical files.
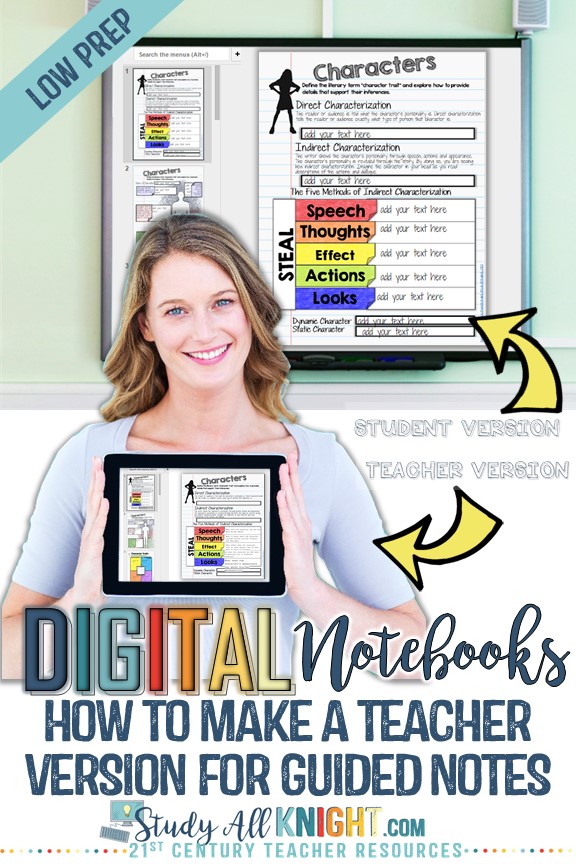
3. Rename your original file as the Teacher Edition.
Then RENAME your duplicate file as the STUDENT EDITION ***SHARE THIS FILE WITH YOUR STUDENTS***

4. Teacher Edition
Open the teacher edition and fill out all of your notes that you wish your students to copy down. This will save you the hassle of re-doing your notes every single class period. Be sure to make it look exactly how you wish your students to copy it down.
You are ready for your own version of the guided notes.
5. Animations
- You will want to insert your animations into your teacher edition.
-
On the Google Slides toolbar, locate the animations button
- The animations pane will open on the right side of your screen. I prefer to use the “fade” animation and select “on click.”
- Select the text you want to add. For example – if you have 5 bullet points, you might want to fade in each, one-at-a-time.
Go through all of your text. I like to use the same animation for all of my text.

6. Preview
Now you will want to preview your teacher edition. You will do this in PRESENTATION MODE. You are looking for accuracy in your teacher notes and to be satisfied with your animation choices. You can go back and edit any text now.

Hopefully, these step-by-step directions for creating a teacher’s edition digital interactive notebook will alleviate the annoyance of your students sitting and staring at you while you re-type your notes each class. We all know how frustrating that can be. We want to continue striving to meet our goal of continuing a stress-free, paperless classroom!

7. Class Period
On the day of your lesson, your students will log into their device (laptop, Chromebook, iPad, etc.) and will open their Google Drive to find their STUDENT EDITION digitized notebook that you shared with them previously. You will open the TEACHER EDITION on your computer that links to your Smartboard or whiteboard/projector.
- IMPORTANT!!! YOU are in PRESENTATION MODE, your STUDENTS are in EDIT MODE!!!
-
-
PRESENTATION MODE: you are PRESENTING your premade guided notes to the class
-
EDIT MODE: your students are able to type your notes as the presentation plays
-

There you have it! Seven steps for creating a Teacher’s Edition digital interactive notebook to save you time! Once you’ve completed the steps 2-3 times, you’re going to be a pro, and you’ll be thrilled at how much time you’ve saved yourself each class period.
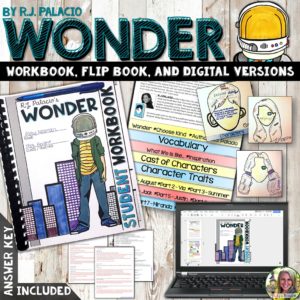
Here are some great digital notebook resources for you to start with your students:


One Comment
Thank you so so much. You make it seem so easy, can’t wait to try it.